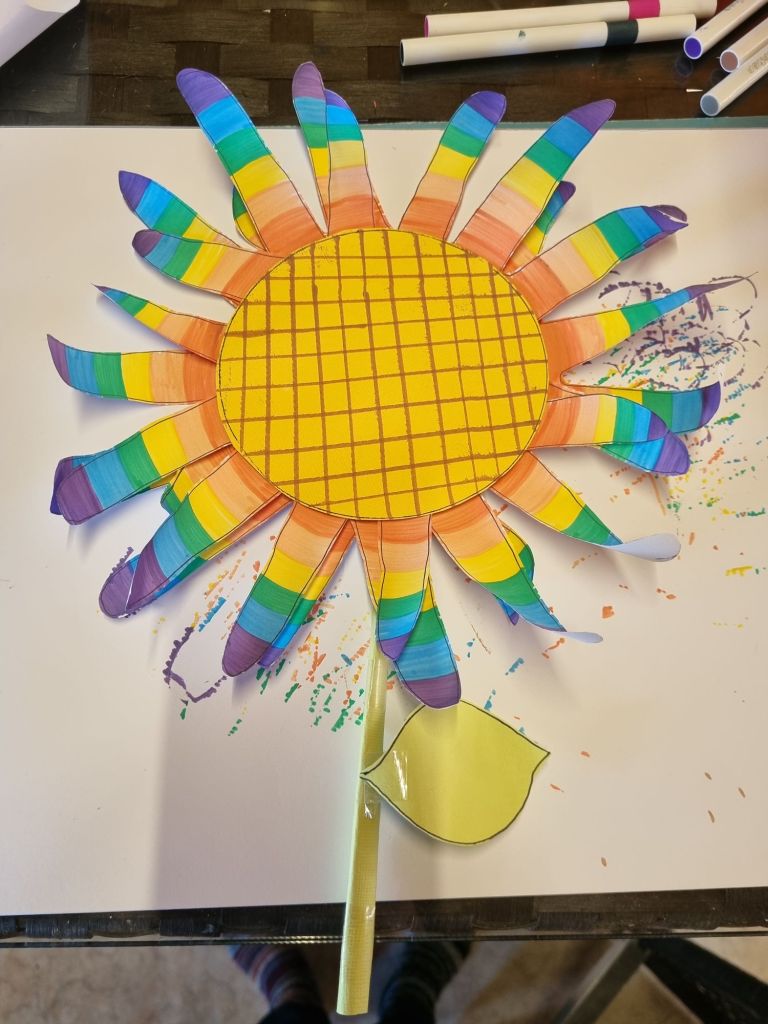
🌼Handprint Paper Flower
What you will need:
- Coloured paper (or plain paper you can colour)
- Pen/Markers
- Scissors
- Glue/Tape
- Circular object to trace, (like a jar lid)
✂️ Instructions:
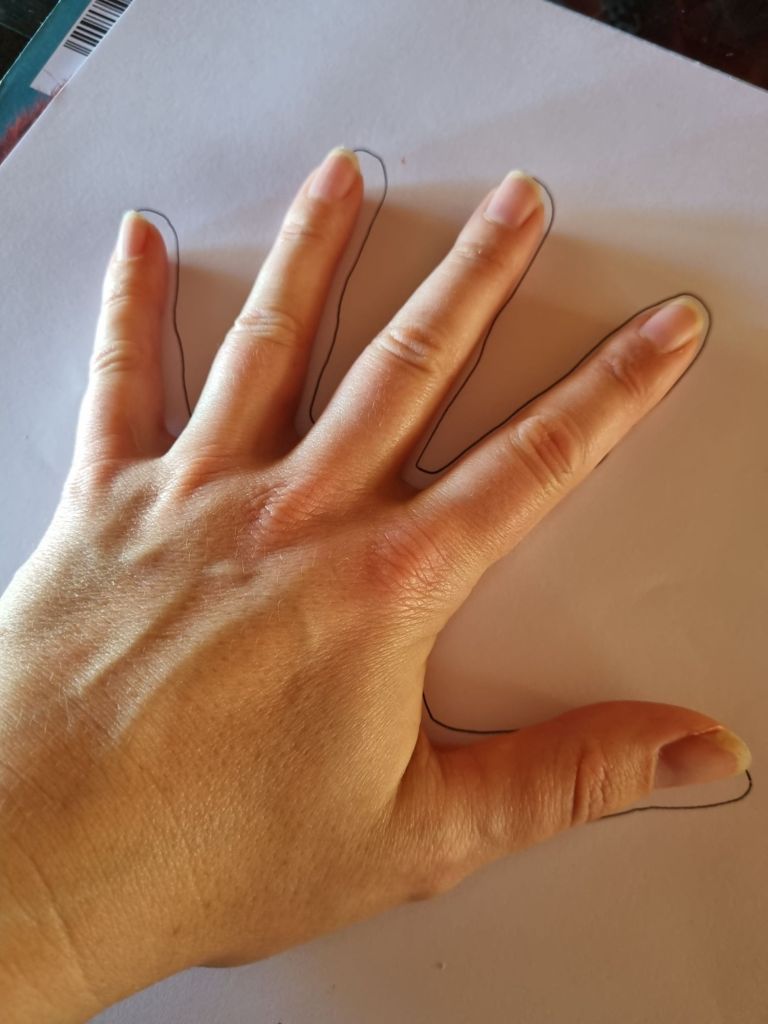
Step 1: Trace Your Hand
Place your hand flat on a sheet of paper and use a pen to trace around it. Do this 5–7 times (depending on how full you want your flower), using different colours if you’d like. We did 6 times.
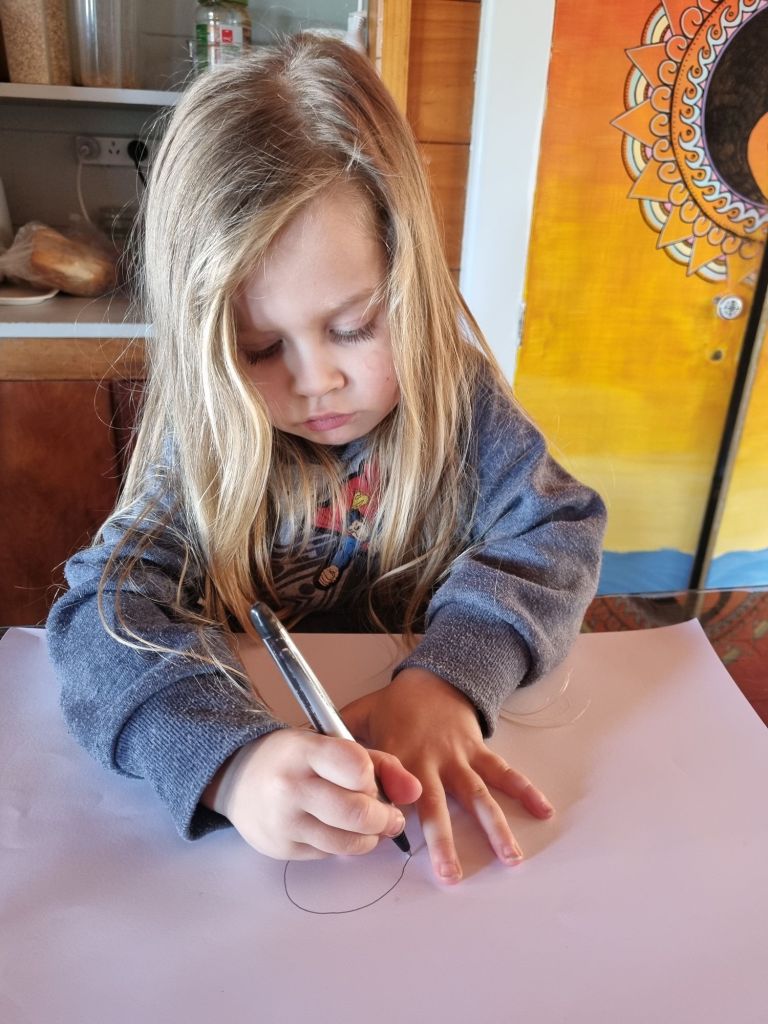
Step 2: Cut Out the Hand prints
Carefully cut out each hand print with scissors. These will be your flower petals.
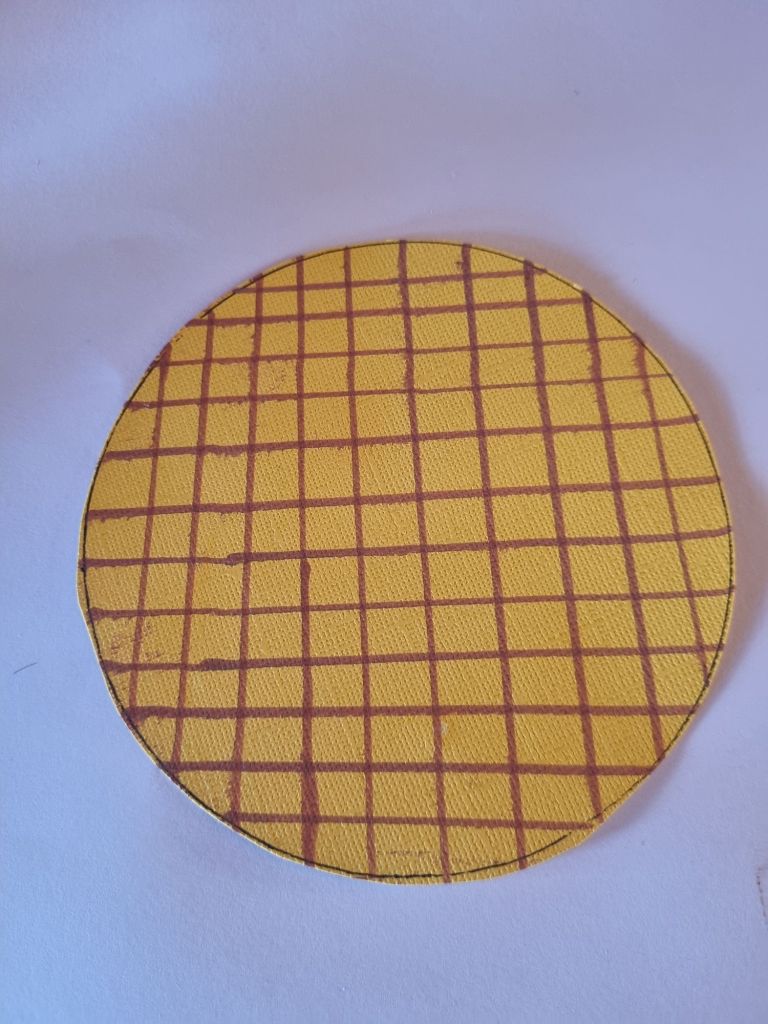
Step 3: Make the Flower Center
Cut a small circle out of yellow or another bright colour. This will be the centre of your flower. You can trace a lid or small cup to get a neat circle.
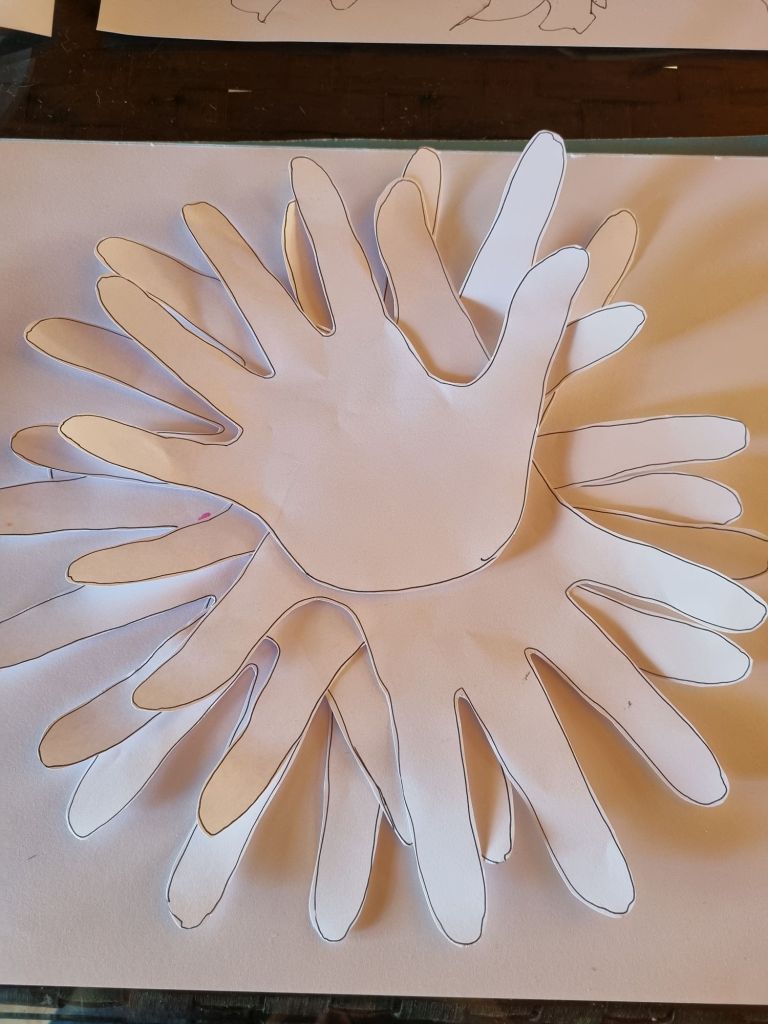
Step 4: Arrange the Petals
Lay the hand prints out in a circle, fingers pointing outward like petals. Overlap the palms slightly in the centre to form a nice round shape.
Step 5: Glue It Together
Glue the hand prints together where they overlap in the centre. Then, glue your circular flower centre on top.
Step 6: Add a Stem
Cut a long strip of green paper for the stem and glue it to the back of your flower.
Step 7: Add leaves (Optional)
Cut out a couple of leaf shapes from green paper and glue them to the stem.
Step 8: Decorate (Optional)
Use markers, stickers, or glitter to decorate the petals or write your name and the date on one of the hand prints.
🌼 And you’re done!
Thanks for checking out my 5 super simple, kid-approved crafts to keep those little hands busy and creative minds buzzing. Whether you’re stuck indoors on a rainy day or just need a break from screens, these projects are a fun way to make memories (and maybe a little mess too!). Happy crafting!!
